Mastering Apple Pear Pie: Secrets to a Flaky Crust & Layered Fruit
There are few desserts as universally comforting and delightfully aromatic as a perfectly baked pie. But when you elevate the classic with the sweet, delicate notes of pears alongside apples, you create something truly special. An apple and pear pie isn't just a dessert; it's an experience – a harmonious blend of textures and flavors, all nestled within a buttery, flaky crust. While the concept might seem straightforward, mastering the art of this particular pie involves understanding key techniques for both the crust and the fruit filling. This guide will reveal the secrets to achieving a dessert that’s not only incredibly delicious but also a showstopper for any gathering.The Foundation of Flavor: Crafting the Perfect Flaky Crust
The crust is arguably the soul of any great pie, and an apple and pear pie demands nothing less than perfection. A truly flaky crust provides a delicate counterpoint to the tender, spiced fruit filling. The secret lies in a few crucial principles:- Cold Ingredients are Key: This is non-negotiable. Using ice-cold butter (or a blend of butter and shortening) cut into small pieces prevents it from melting too quickly into the flour. These tiny pockets of fat melt during baking, creating steam that separates the layers of dough, resulting in that coveted flakiness.
- Minimal Handling: Overworking the dough develops gluten, leading to a tough, chewy crust. Mix just enough to bring the ingredients together, and stop as soon as it forms a cohesive mass. You should still see visible specks of butter – that's a good sign!
- The Vodka Advantage: For an extra boost of flakiness and easier handling, many bakers swear by a touch of vodka. Unlike water, alcohol doesn't promote gluten development. It evaporates completely during baking, leaving behind no taste, only incredible tenderness and crispness. If vodka isn't an option, a tablespoon of apple cider vinegar can also help by tenderizing the dough.
- Chilling Time: Once the dough is mixed, flatten it into a disc, wrap it tightly, and refrigerate for at least an hour, or even overnight. This allows the gluten to relax and the fats to firm up, making the dough much easier to roll out without sticking or tearing.
Layering Sweetness and Spice: The Harmonious Fruit Filling
The magic of an apple and pear pie lies in the delicate balance of its fruit filling. Achieving perfectly tender fruit with distinct, warm flavors requires a thoughtful approach, especially given that apples and pears cook at different rates.Selecting Your Fruits and Spices
For the best results, choose a mix of firm, baking apples and pears. For apples, varieties like Granny Smith (for a touch of tartness), Honeycrisp, Braeburn, or Gala work wonderfully. Pears such as Bosc or Anjou hold their shape well during baking and offer a lovely sweetness and subtle grittiness that complements the apples. Aim for a ratio that allows both fruits to shine, often leaning slightly more towards apples for structure.
The spice blend is crucial for enhancing the natural flavors. Cinnamon and nutmeg are classic choices, imbuing the pie with a comforting, aromatic warmth. Adding a hint of ground ginger can introduce an extra layer of zesty complexity, especially delightful during autumn and holiday seasons. Freshly grated spices always yield the most vibrant aroma and flavor.
The Secret to Evenly Cooked Fruit
One of the most valuable secrets to mastering this pie is addressing the cooking disparity between apples and pears. Apples generally take longer to soften than pears. To ensure both fruits are tender and flavorful by the time your pie is ready, consider this ingenious technique: briefly pre-cook the apples.
Sautéing sliced apples with a touch of butter, sugar, and some of your spices for a few minutes before adding them to the pie crust helps them get a head start. This ensures that when the pears are perfectly tender, the apples aren't still crunchy. This method, often employed in a traditional apple and pear pie recipe, guarantees a consistently delightful texture throughout the filling.
Don't forget the power of lemon juice! A squeeze of fresh lemon juice not only brightens the fruit flavors but also helps prevent the apples and pears from browning too quickly, maintaining their fresh appearance.
The Slab Pie Advantage: Feeding a Crowd with Elegance
While a traditional round pie has its charm, the apple and pear slab pie truly shines when you're looking to serve a larger group. Using a 9x13 inch pan transforms the dessert into an accessible, easily portioned treat perfect for any gathering, from family dinners to festive holiday feasts. If you're curious about the full benefits, you can learn more about Slab Pie vs. Traditional: Why This Apple Pear Recipe Feeds a Crowd.A typical 9x13 inch slab pie can generously serve 12 to 15 people. For smaller portions, especially if it's part of a diverse dessert spread that includes other delights like pumpkin pie or bundt cakes, you could comfortably get up to 18 servings. This makes it an incredibly efficient choice for hosts who want to ensure everyone gets a slice of that spiced, fruity goodness without the fuss of baking multiple smaller pies.
Beyond its generous yield, the slab pie format also offers practical advantages:
- Easier Transport: The rectangular shape is more stable and less prone to shifting than a round pie, making it ideal for potlucks or transporting to a friend's house.
- Consistent Slices: It's simpler to cut neat, uniform pieces from a slab, ensuring everyone gets a visually appealing portion.
- Versatile Presentation: A slab pie lends itself beautifully to decorative top crusts, whether a full sheet or an intricate lattice, creating an impressive focal point on your dessert table.
Baking to Perfection: Achieving Golden Brown & Tender Fruit
The final step in mastering your apple and pear pie is the bake itself. Achieving a golden-brown, crispy crust and a bubbling, tender fruit filling requires attention to detail and a keen eye.Preheating and Initial Bake
Start with a properly preheated oven, typically around 400°F (200°C). A higher initial temperature helps to set the crust quickly and ensures it gets nice and flaky before the filling begins to release too much moisture. Bake at this temperature for the first 15-20 minutes, then reduce the heat to a moderate temperature, around 375°F (190°C), for the remainder of the baking time. This two-stage approach allows the crust to brown without burning and gives the fruit ample time to soften.
Monitoring and Finishing Touches
The total baking time for an apple and pear pie can range from 45 minutes to over an hour, depending on the size and thickness of your pie. For slab pies, it might be on the longer side due to the sheer volume of fruit. To check for doneness, look for a deep golden-brown crust and a filling that is visibly bubbling around the edges and through any top crust slits. You can also carefully insert a thin, sharp knife into one of the vents in the crust to feel if the fruit is tender with minimal resistance.
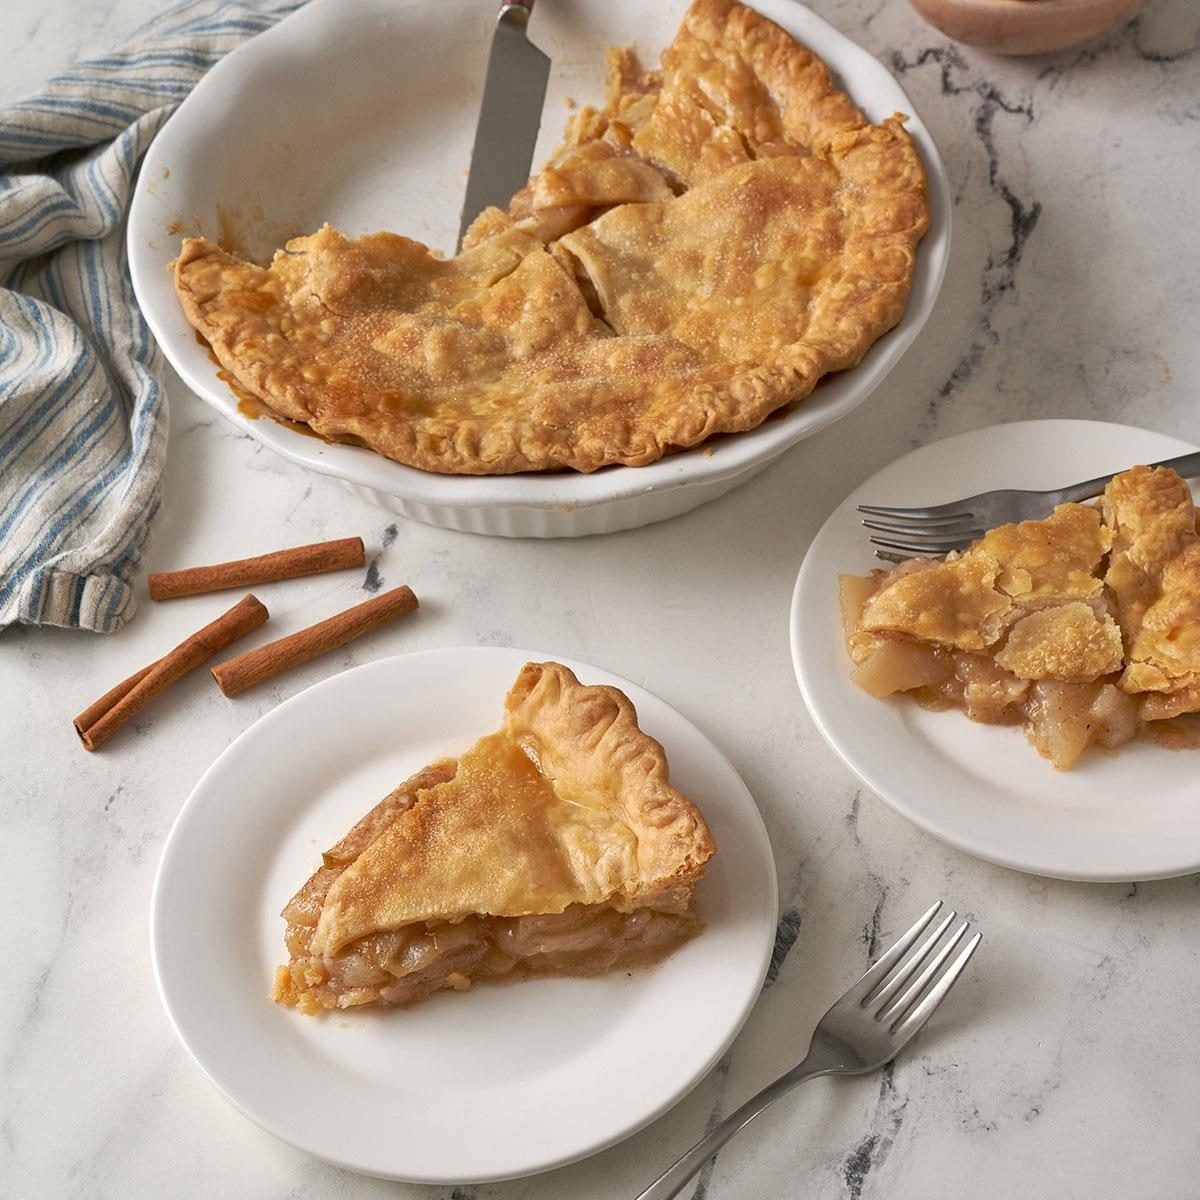
If your crust starts to brown too quickly, loosely tent the pie with aluminum foil. Brushing the top crust with milk or an egg wash and sprinkling with cinnamon sugar before baking will give it a beautiful sheen and an extra layer of flavor.
Crucially, once baked, allow your pie to cool completely – ideally for several hours, or even overnight. This allows the filling to set properly, preventing it from being runny when sliced. Patience here is truly a virtue, rewarding you with perfectly structured, delectable slices.
